Mark
Taylor
Laboratory Manager - Packaging and Materials, Materials Science and Engineering
United Kingdom
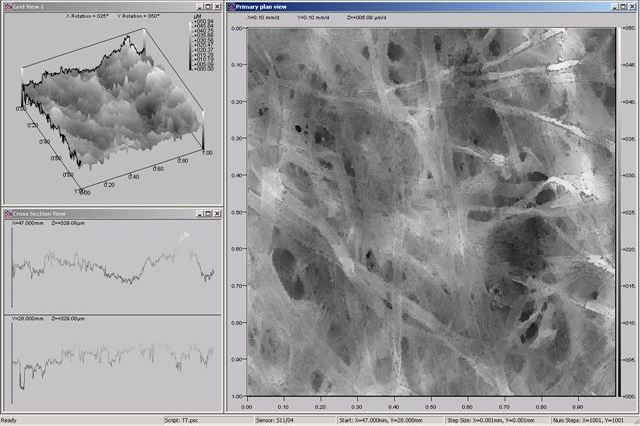
Contact MarkThese test methods include lateral air leakage measurement and surface profilometry.
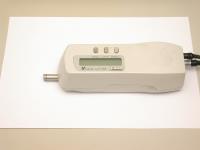
The most common method of testing smoothness or roughness in the paper and board sector is by one of three air leakage methods.
Bendtsen roughness is achieved by clamping the test piece between a flat glass plate and a circular metal head and measuring the rate of airflow in ml/minute between the paper and head. The Bendtsen technique is designed to work in the range 30-1500 ml/minute. Applicable test methods are BS 4420, ISO 8791/2, DIN 53108 and SCAN P21. Smithers are UKAS, ISO 17025 accredited to BS 4420.
Bekk smoothness is again measured by the air leak method but, unlike the Bendtsen method, air is drawn across the surface of the test piece under a partial vacuum. Applicable standards are ISO 5627, Tappi T479 and DIN 53107.
Parker print-surf roughness is designed specifically for measuring the surface roughness of printing papers under simulated printing press conditions. The instrument contains an internal gas flow restrictor whose pressure drop versus flow characteristics is closely controlled. The air flow is calculated by comparing the pressure drop across the measuring head and the paper test surface with that across the flow restrictor. Applicable standards are BS 6563, ISO 8791/4, Tappi T555 and SCAN P76.


Roughness parameter |
Description |
| (ISO) Ra | Roughness average |
| (DIN) Rz | Mean peak to valley height |
| (ISO) Rz | Ten point height |
| (ISO) Rmax | Maximum peak to valley |
| (ISO) Rm | Minimum valley depth |
| (ISO) Rq | Square root of average of the square deviation of the scan |
| (ISO) Wt | Waviness |
| (ISO) Nr | Normalised peak count |
| (ISO) S | Peak profile density |
| (ISO) D | Peak count |
| (ISO) Sm | Mean peak spacing |
| (ISO) R3z | Vertical mean form third highest peak to third lowest valley |